
Written by
Published on: 2025-05-10
Updated on: 2025-05-10
This guide does NOT go over the strategy used for Challenge mode, this is simply to help people stuck in the campaign.
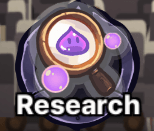
The first upgrade menu is the Research tab, which lets you unlock and use different bubble soldiers.
Each bubble soldier comes from a different category. These include:
You are given 6 bubble soldiers for free, the first from each category.

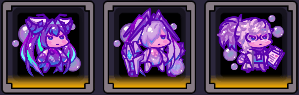
Each category of Bubble soldier has 3 tiers.
Tier 1 is always given for free; the rest of the tiers need to be purchased with Keys, which are unlocked during the campaign. It takes 12 total keys to unlock every unit at the same time.
Each tier has some utility that makes it unique, which means that tier 3 is not necessarily better than tier 2, just different.
The basic unit, no special powers, but they only cost 100 Summon bubbles. You are also allowed to place 2 squads of Tier 1’s at a time.
| Unit | Role |
|---|---|
 Defender | Close-range, high health Meatshield. Single Target. |
 Gunner | Long-range, low health Damager. Single Target. |
 Healer | Heals a damaged Ally, can not attack. Single Target. |
 Attacker | Close-range, low health Damager. Single Target. |
 Bomber Man | Long range, low health Damager. AoE damage. |
Tier 2 units are an upgraded version of Tier 1 that are given an ability and higher stats. In exchange, they cost 200 summon bubbles to place and upgrade.
| Unit | Role |
|---|---|
 Guardian | Incredibly high health Tanker with the ability to give themselves a 10% health Shield when they first see an enemy. This shield is guaranteed to take at least 1 hit. |
 Ranger | Long-range unit with high attack, has the ability to decrease their reload time, which lets them attack faster. |
 Medic | Heals more than its Tier 1 version and becomes multi-hit, can heal entire groups of allies. |
 Slayer | Increased attack with the ability to teleport to the enemy, does not work on Bosses or Towers. |
 Grenade Man | Higher AoE damage than tier 1 with the ability to explode when it dies, dealing damage to enemies around it. |
Tier 3 units do not have an ability of any sort; instead, they either improve on 1 thing from the basic unit, change their category of attack, or completely change their kit.
| Unit | Role |
|---|---|
 Warlord | Significantly stronger attacks in exchange for less health. |
 Sniper | 25% more range at the cost of fire rate, shoots a single bullet per reload. |
 Nurse | Buffs the attack of damaging units and increases how much health they gain from healing, but does not actually heal by itself. |
 Warrior | Significantly stronger attacks; there is no downside. |
 Missile Man | Sustained damage in the area it throws the missile in exchange for less damage. |
There are 3 heroes: Little Mermaid, Cinderella, and Abe. Heroes cost 250 Summon Bubbles to upgrade and 300 to place. You are only allowed 1 of each hero on the stage at any time.
Little Mermaid is a close-range, AoE attacker with a large pool of health. You can think of her as a stronger version of the Guardian with significantly more attack. Her ability will damage every enemy on the field by a decent amount and scales with her level.
Cinderella is a Long-range AoE attacker with an insane sustained damage projectile, she has the same range as the Gunner and Bomber Man variants. (Not counting Sniper) Her ability will damage every enemy on the field by a decent amount and scales with her level.
Abe is a Long-range Healer; she heals much more than the normal healers and has higher health. Her ability will heal every ally on the field by a decent amount and scales with her level.
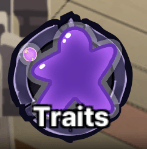
There are 8 different traits that you can invest in throughout the minigame; many of these are self-explanatory, but I’ll explain them anyway.
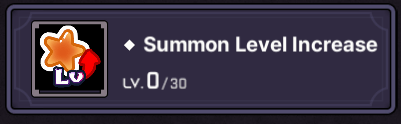
Costs 10 Trait Bubbles per level.
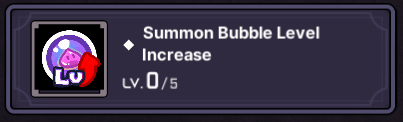
Increases the Starting level of your Bubble Soldiers and Heroes for each level invested, Max of 30 levels.
Costs 2 Trait Bubbles per level.
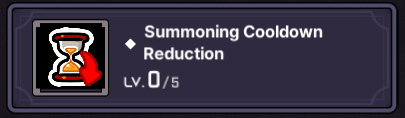
Reduces the Cooldown to summon your Bubble soldiers and Heroes by 5% for each level invested, Max of 25%
Costs 2 Trait Bubbles per level.
Reduces the Summon Cost of your Bubble soldiers and Heroes by 2% for each level invested, Max of 10%. (Does not reduce the upgrade price, just the placement price.)
Costs 2 Trait Bubbles per level.
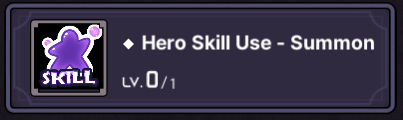
Allows your Hero to activate their ability when they are placed. Can only be purchased once.
Costs 2 Trait Bubbles per level.
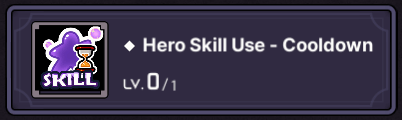
Allows your Hero to activate their ability every time their summon cooldown resets while they are on the stage. Can only be purchased once. (Does not take into account Summon Cooldown upgrades)
Costs 2 Trait Bubbles.
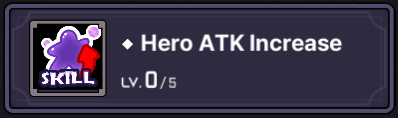
Increases your Hero’s attack by 2% for each level invested, Max of 10%
Costs 2 Trait Bubbles per level.
Increases the Capacity level by 1 for each level invested, max of 5 levels. This does not increase the rate at which gain bubbles passively, including the upgradable version in stages.
Costs 2 Trait Bubbles per level.
Increases the rate at which you gain bubbles passively by 10% for each level invested. Max of 50%.
How the game plays is very simple: you can click on a unit to select it and then click somewhere on the stage to place it. Units start at level 1 and can be upgraded by toggling the upgrade menu using “Q”. Upgrading your units is the lifeblood of the game.
It is a balance of placing units to keep yourself alive and making sure those units are leveled enough to push the enemy back, as each level is timed, if you run out of time, you lose.
Now, while you can level up all your units equally, it’s recommended to only invest in 1-2 units. Killing the raptures can give some bubbles, but income is still very slow; you don’t want to invest in units you won’t end up using.
Now that we know all the general rules, we can talk about the main strategy for the campaign.
As sad as it is, we truly only care about 2 units and 2 traits; the strategy is short and sweet because not all units are created equal.
Guardians and Snipers are Godlike units for campaign, to the point that there’s literally no reason to use anything else.
The defensive ability of the Guardian is by far the best in the game, letting it push through entire waves of enemies by itself.
The 25% extra range that the Sniper has lets it out-range most enemies, they can kill enemy units before they even fire, which lets them stay on the stage much longer.
As for the traits, we care about Starting level, and Charge level:
Starting level is important because the enemies level up almost every wave, being underleveled makes the fight shift heavily in the Raptures’ favor. Likewise, if you level up your units past the enemies, it becomes far easier.
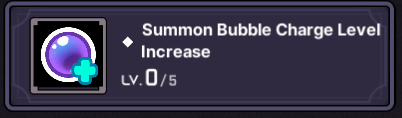
Charge level is important because it increases your currency gain; this currency is needed to upgrade and place your units, so it’s incredibly important that you’re making as much as possible.
If you max out Charge Level and put the rest of your points into Starting level, you will almost always be 1 level below the enemies when you start the stage.
Luckily, the enemies take a while to reach your base, which gives you just enough time to level up 1 unit and then place it. This unit should almost always be the Guardian, as they can solo entire levels by themselves.
When this isn’t enough, alternate between Snipers and Guardians, but this only becomes an issue in Hard mode.
And now you’re set!
Feel free to summon Guardians until you win the wave.
(Yes, it really is that simple.)