Simulation room
If you enjoy our content and want to support it, you can do it with this link :)
Support our contentWhat’s the Simulation Room?
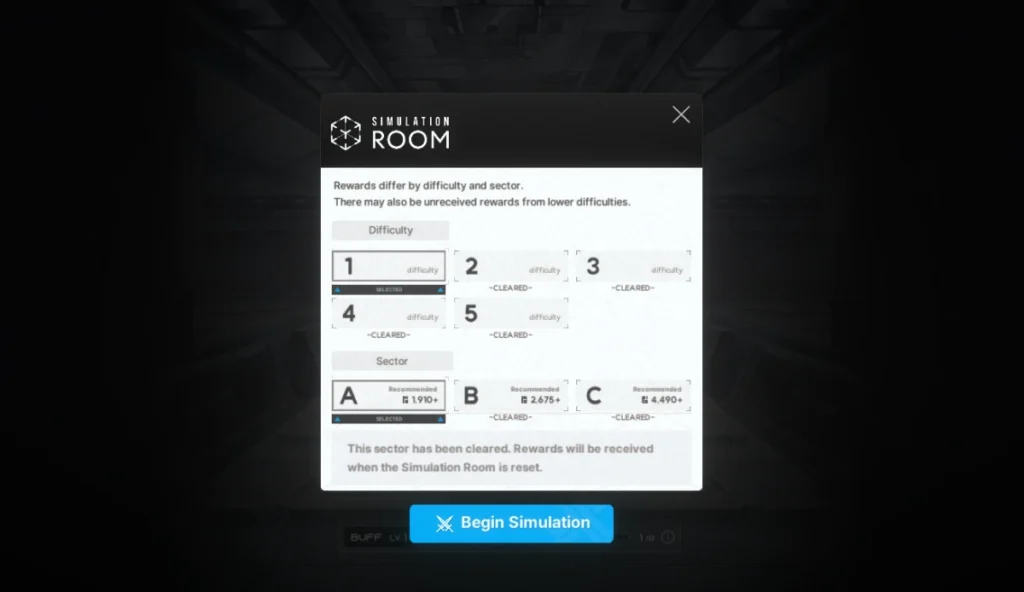
The Simulation room is a more rogue-like game mode in Nikke that contains stage to stage encounters that reward a buff after each stage. Similar to other idle gachas, the rooms are completely random every time you enter, but the rewards for a full clear remains the same.
This game mode is currently the only way to obtain the extremely valuable “Skill Manuals” and “Burst Manuals” as a reward (outside of event shops).
This and the Interception game modes are the most valuable ones you can do on a daily basis, as the rewards from both are mandatory but scarce.
You unlock the different difficulties after completing the following stages in the campaign:
- Difficulty 2: Stage 5-1
- Difficulty 3: Stage 8-6
- Difficulty 4: Stage 11-7
- Difficulty 5: Stage 14-3

Some notes about Simulation
- There is no CP penalty in Simulation, your team can be vastly weaker and more prone to death
- However, with the right buffs obtained, you can clear stages that are substantially higher power than you
- Health is carried over between stages, this gets scarier the more power you are below the stages
- However, there are stages that allow you to heal your units anywhere from 20% up to 100%, there is also the ability to revive units in case you lose some
- You can offset some stress of healing, if your team is strong enough damage wise you can bring a healer in your roster
- Completing the highest possible level will complete every level below it automatically
- For example, if you clear 4-C, you will also get the rewards from 4-A and 4-B
- This shortens the overall time you need to actually spend in the Simulation Room mode. You save time this way, but are required to be quite a bit stronger as you start with fewer buffs
Type of rooms

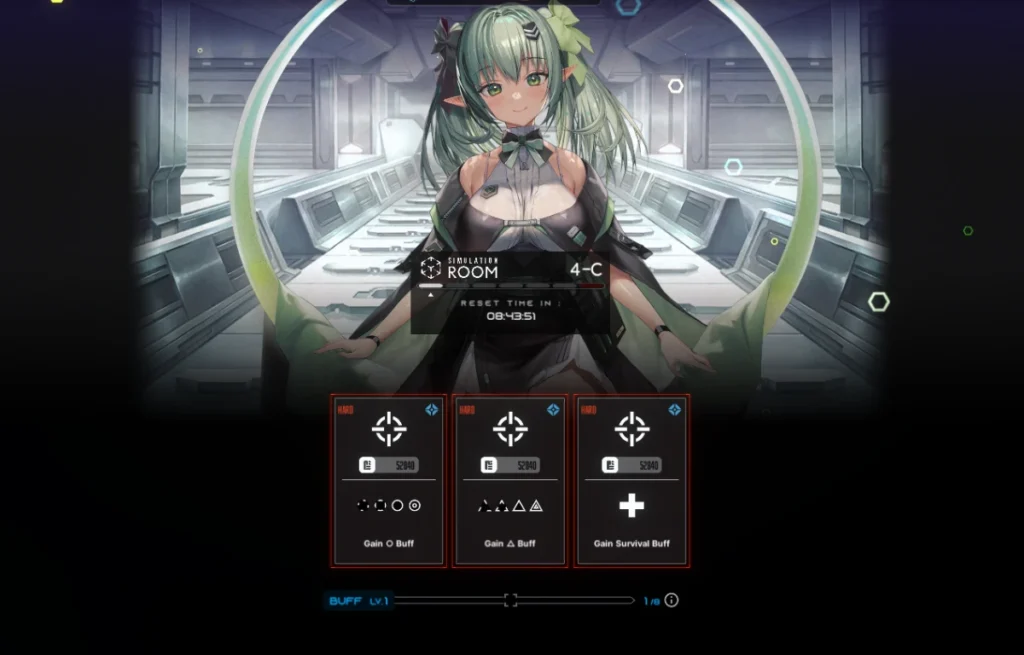
From the start of your run you are given the option of different rooms that with a different shape (▵, □, ○, ◇) and a buff after the fight is completed.
These shapes will appear at the bottom of your screen in the Simulation room main screen. The reason for the buffs is simply that having a certain number of the same shape will increase the level of ALL of your buffs.
- Normal battle rooms: Regular rooms that can be skipped if your power level is much higher
- Hard battle rooms: Same as normal but cannot be skipped, have a higher chance at higher rarity buffs
- Ability test rooms: Random event rooms that can have either a positive or negative effect on your team, or cause nothing to happen at all
- ICU rooms: You have the option of healing your team a % amount at random, or to revive a unit.
- Spec UP rooms: A choice chance at enhancing a single buff, or all of your buffs
Level increases for buff chains goes as follows:
- Level 1: No buff chain
- Level 2: 3 buffs of the same shape type. (3 Diamonds)
- Level 3: Two Chains of 3 shapes of the same type (3 Diamonds + 3 Squares as an example)
- Level 4: 6 buffs of the same shape type. (6 Diamonds)
- Level 5: 8 buffs of the same shape type
Achieving buff chains isn’t necessarily mandatory to do, but it makes your team significantly stronger if you do.
Obtaining a large buff chain is also fairly easy, as there is a stage that has a chance to change all the buffs you have currently obtained to the same shape type.
Buff types
Buffs are separated into 3 different types, with each of those types being associated to every manufacturer for Nikke.
Sometimes you’ll have the option of taking an “Attack”, “Survival” and “Strategic” set of buffs, all of which can either effect all Nikke, from a specific manufacturer, a specific weapon type, or class. You have the ability to use the same buff, if they are from different classification.
There isn’t necessarily the best build, as you can pretty much bring whatever you like into the Simulation Room.
However, there are definitely better buffs than others, and you have to choose the buffs that best fit the team you are gonna use to take through the game mode.
Notable good buffs
- Drain Converter: When an attack hits, recover HP equal to x% of the damage dealt
- Quick Magazine: Reduces reload time by x%
- Focus Scope: Increases Hit rate by x%
- High-Quality Powder: Increases Attack by x%
If you are using units that use a Sniper Rifle or Launcher weapon type
- Hidden Powder: Increases full charge damage by x%
- Quick Charger: Decrease charge time by x%
